


Curcuma Production Guide: Week-by-Week
26/03/2026
A clear, practical roadmap to keep your crop uniform, on time, and retail-ready built from our farm timelapse notes.
Curcuma can be a premium crop when it’s grown with consistency. This Curcuma Production Guide is designed to be easy to use: set the crop up right, follow the phases, and time your finish with confidence, without overcomplicating the process.
Quick Start Targets (The 7 numbers that protect your program)
- Light: 6,000–8,500 FC (strong start; add lighting in low-light seasons if needed). Day length needs to be a minimum 12 hours and can be supplemented with artificial lights
- Minimum temperature: 21°C/70°F (protect early momentum; below this increases dormancy/slowdown risk)
- Irrigation: Best results are obtained with Ebb and Flood systems
- Feed: 150–200 ppm N (17-5-17)
- Media EC: 1.0–1.3 (leach at 1.5 to prevent marginal burn)
- Watering: heavy water-in at planting; then keep moisture consistent as roots fill
- Scouting: thrips + spider mites early
- Relative humidity (RH): The standard setpoint Day is 60% Night is 75%.
If you control these seven variables, you’ll protect uniformity and timing. Everything else is steady execution.
Note: Space for Curcuma is a critical aspect to growth full well develop shoots, the ideal final spacing will be:
- 10” pot 32 pots for 100 ft².
- 8” pot will also be 50 for 100 ft².
- 6” pot will also be 90 for 100 ft².
Timeline at a glance (W1–W16, by phases)
Phase 1 (W1–W2): Establishment
Phase 2 (W3–W6): Roots + Uniformity
Phase 3 (W7–W10): Height + Finish Prep
Phase 4 (W11–W16): Bloom + Shipping + Premium Finish
Phase 1 — Establishment (W1–W2)
What you should see
- Strong, even start
- Roots beginning to expand with momentum
What to do
- Keep light in range (6,000–8,500 FC)
- Protect minimum temperature (70°F)
- Heavy water-in at planting; maintain steady moisture
- Start feeding 150–200 ppm N (17-5-17)
Watch-outs
- less than 12 hours of light in cool seasons can create minor delays if not supported
- Sustained temps below 70°F can slow the crop and increase dormancy risk
Phase 2 — Roots + Uniformity (W3–W6)
What you should see
- Roots developing quickly
- Crop staying uniform (this protects premium finish later)
What to do
- Keep media EC at 1.0–1.3; leach at 1.5 if it climbs (prevent marginal burn)
- Start scouting early: thrips + spider mites are priority
- Keep irrigation consistent (avoid swings)
Watch-outs
- W4 benchmark: aim for roots >50% pot fill
- Early unevenness usually shows up later as uneven finish
Phase 3 — Height + Finish Preparation (W7–W10)
What you should see
- Structure set and crop progressing evenly
- Plants moving toward finish without surprises
What to do
- Keep the routine steady: feed + moisture + scouting
- For larger varieties, decide early if height control is needed (don’t wait too long)
- If desired, evaluate PGR: Bonzi/Piccolo drench at 0.5 ppm (only if it supports your finish goals)
Watch-outs
- “Chasing the crop” with weekly recipe changes creates variability
- Decide your finish target and manage toward it
Phase 4 — Bloom + Shipping + Premium Finish (W11–W16)
What you should see
- Bloom begins (shipping window opens)
- Crop moves from “ship-ready” toward premium finish.
What to do
- Choose your strategy: ship at early bloom vs hold for premium (based on your program)
- Make sure shipping stage supports sell-through for your channel
- Protect quality: don’t hold too long without a plan
- Shipping on open carts is the best option to transport. If plants are shipped with a sleeve, its best to use “paper” sleeves
Watch-outs
- W11: ship-ready window opens (bloom beginning)
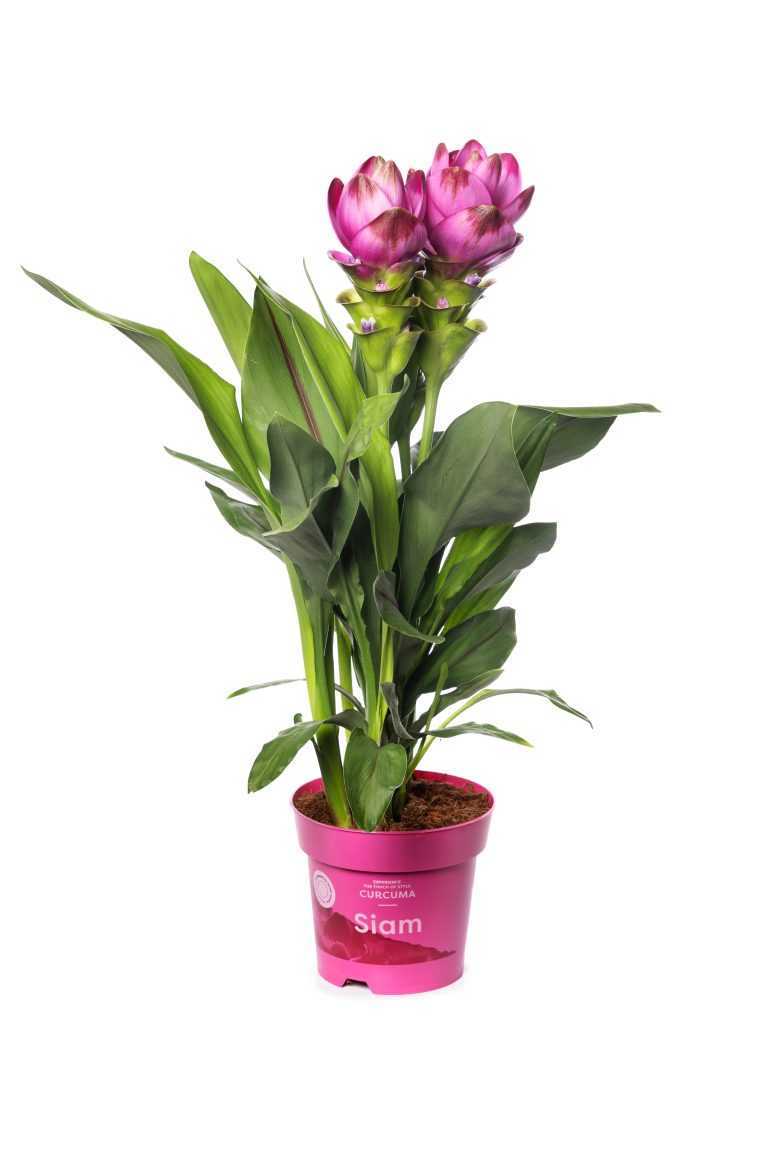
- W15: premium finish = two open blooms
- W16: over-holding increases risk and can move beyond the ideal retail stage
- Take care to not ship the plants too wet and avoid water in the flower cup
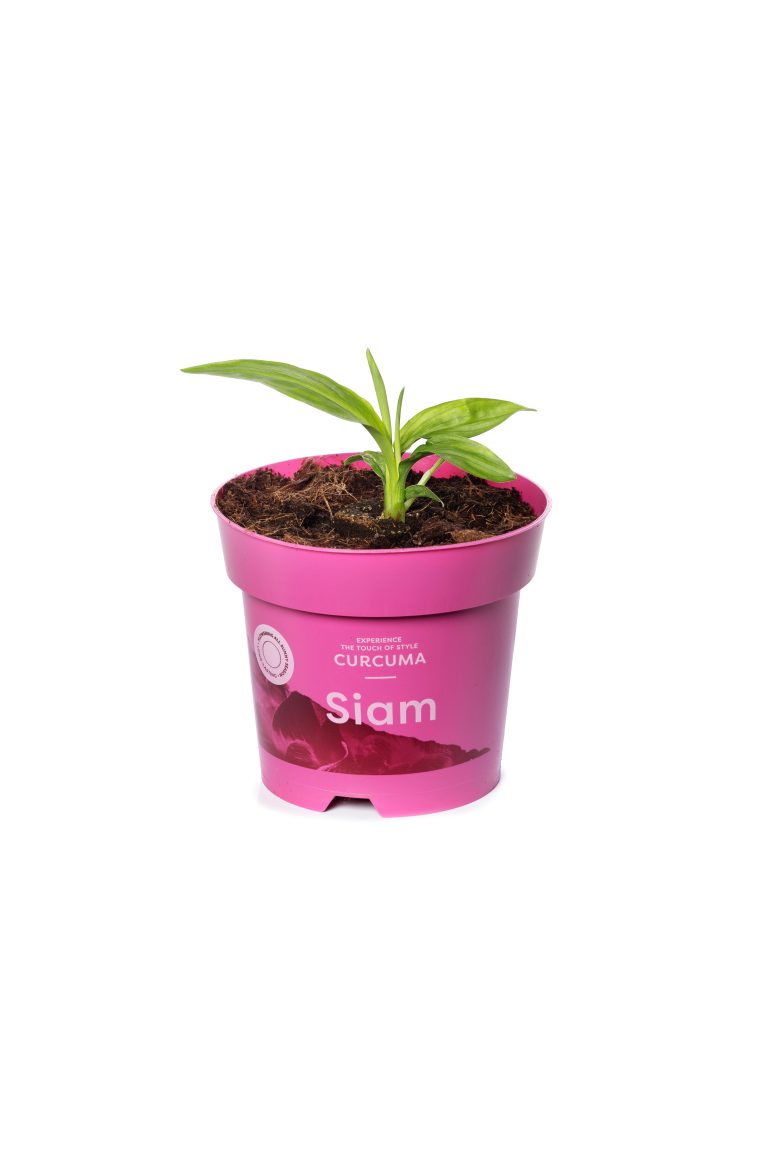
Timelapse: key weeks
How to use this gallery: compare your crop to these checkpoints to confirm pace and finish stage.
W1: planting + correct setup
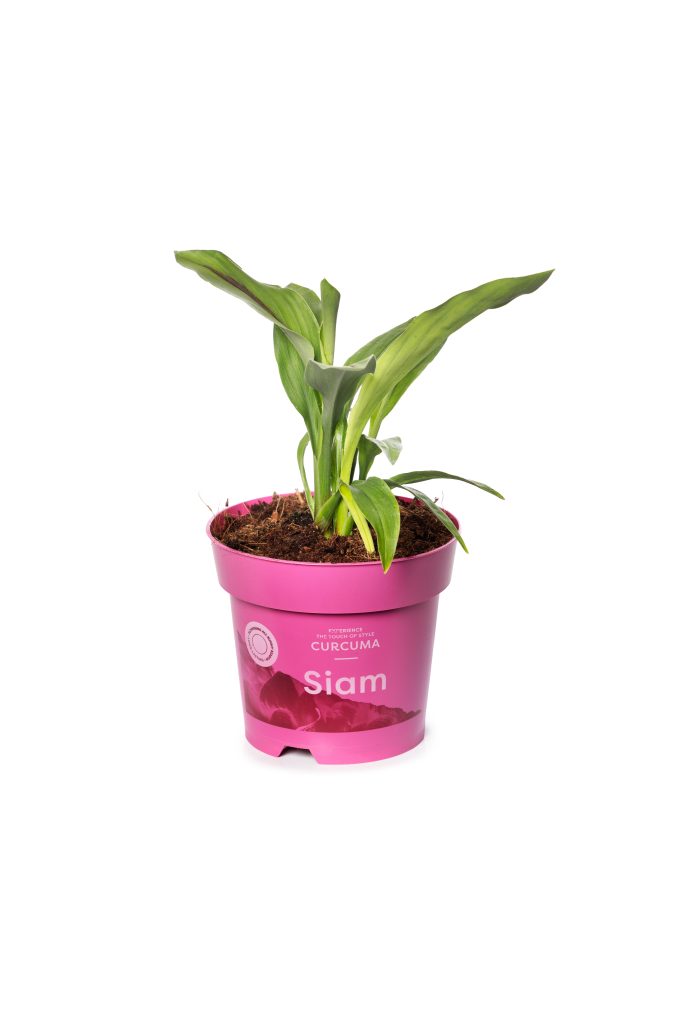
W4: root benchmark (>50% pot fill)
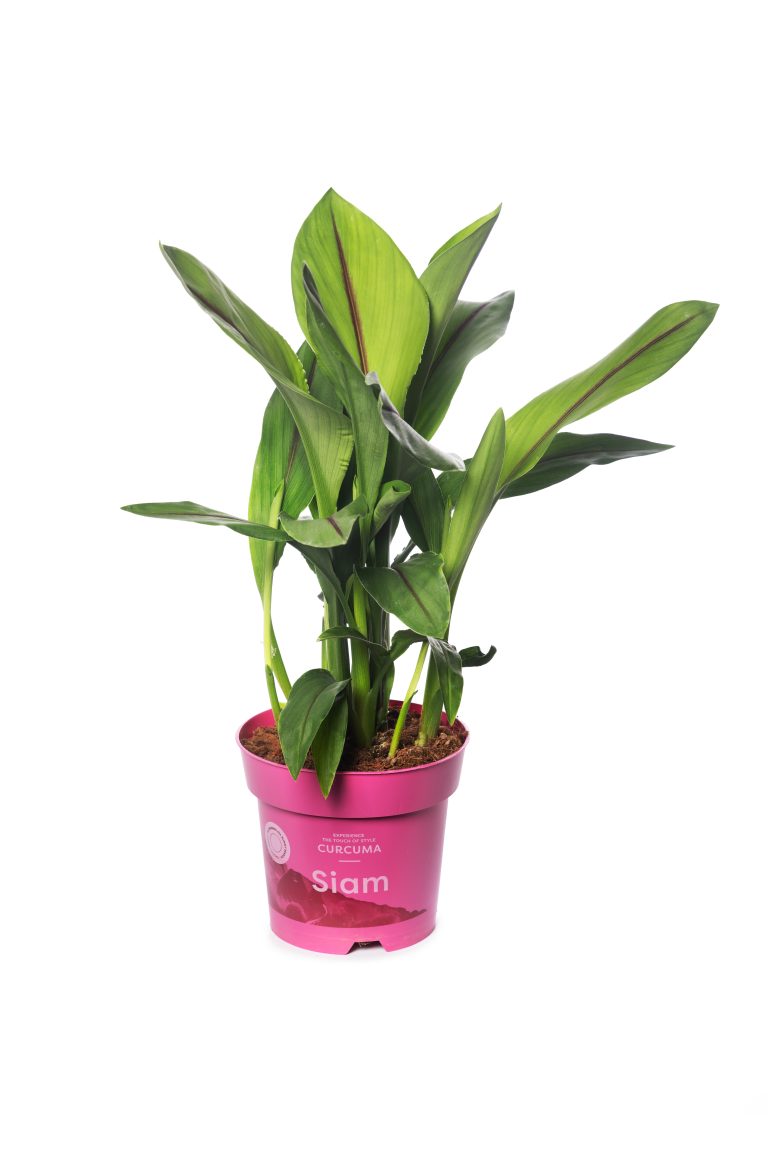
W8: uniformity and structure set
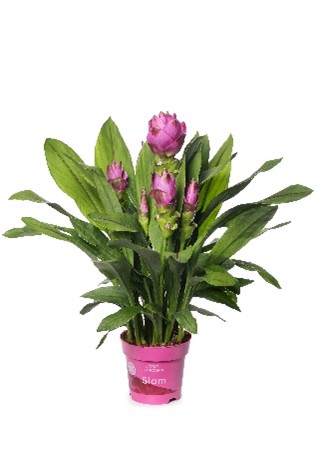
W11: ship-ready (bloom begins)
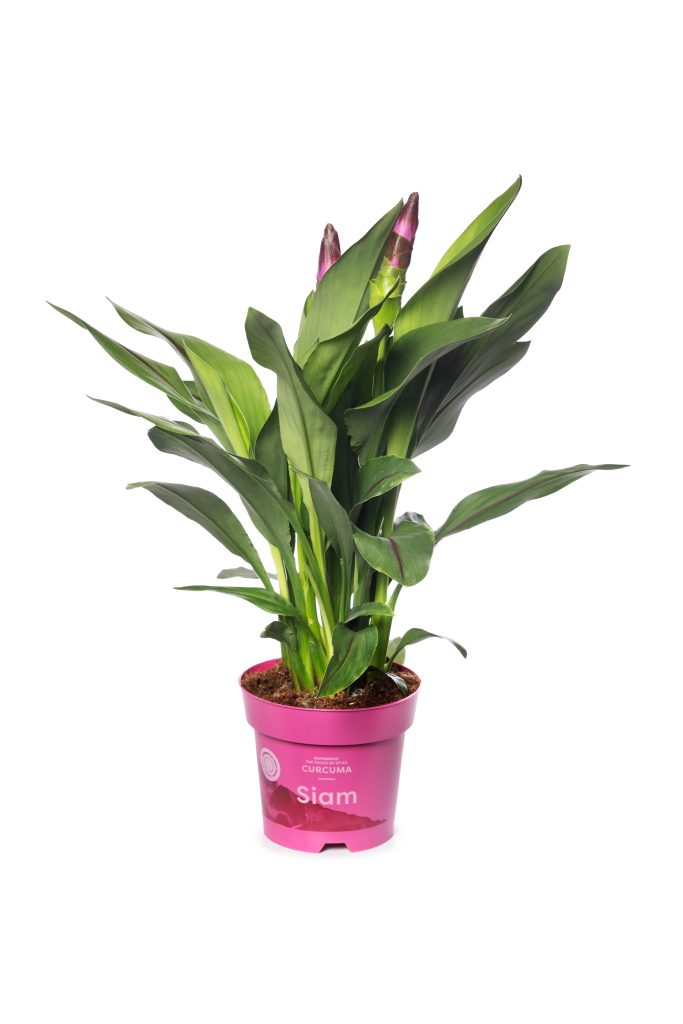
W15: premium (two open blooms)
Week 16 — Over-Hold Risk
Shipping & Finish Matrix
Ship-ready (W11): bloom beginning; good for fast rotation programs
Selling moment (W12+): bloom increases attention and sell-through potential
Premium finish (W15): two open blooms
Over-hold risk (W16): holding too long increases quality risk and reduces control
Define your target stage early and grow toward that outcome.
Troubleshooting (quick and practical)
- Marginal burn: check EC; leach at 1.5 if needed
- Thrips / spider mites: scout early and stay ahead, especially in warm months
- Dormancy / slowdowns: protect the 70°F minimum
- Uneven finish: usually traces back to early inconsistency (moisture, temperature stability, scouting)
FAQ
What light level should Curcuma be grown under?
6,000–8,500 FC. If planting in low-light seasons, consider lighting support to avoid delays.
What feeding program should I start with?
150–200 ppm N using 17-5-17, with media EC targeted at 1.0–1.3 (leach at 1.5 if needed).
When should I start scouting pests?
Early. Thrips and spider mites are the priority.
What defines a premium Curcuma finish?
A simple definition: two open blooms.
Now you’re ready to grow Curcuma with intention, not guesswork. Set the crop up right, stay consistent through the phases, and ship at the stage your market values most. If you’d like a second set of eyes on your plan, contact your Foremost Sales Rep. We’re here to help you grow a program you can repeat with confidence.
Explore our Curcuma varieties and start growing now!
Explore how Foremost can support your rotation planning with availability calendars, planning tools, and insights into tropical plant demand. Together, we can make every season a profitable one.